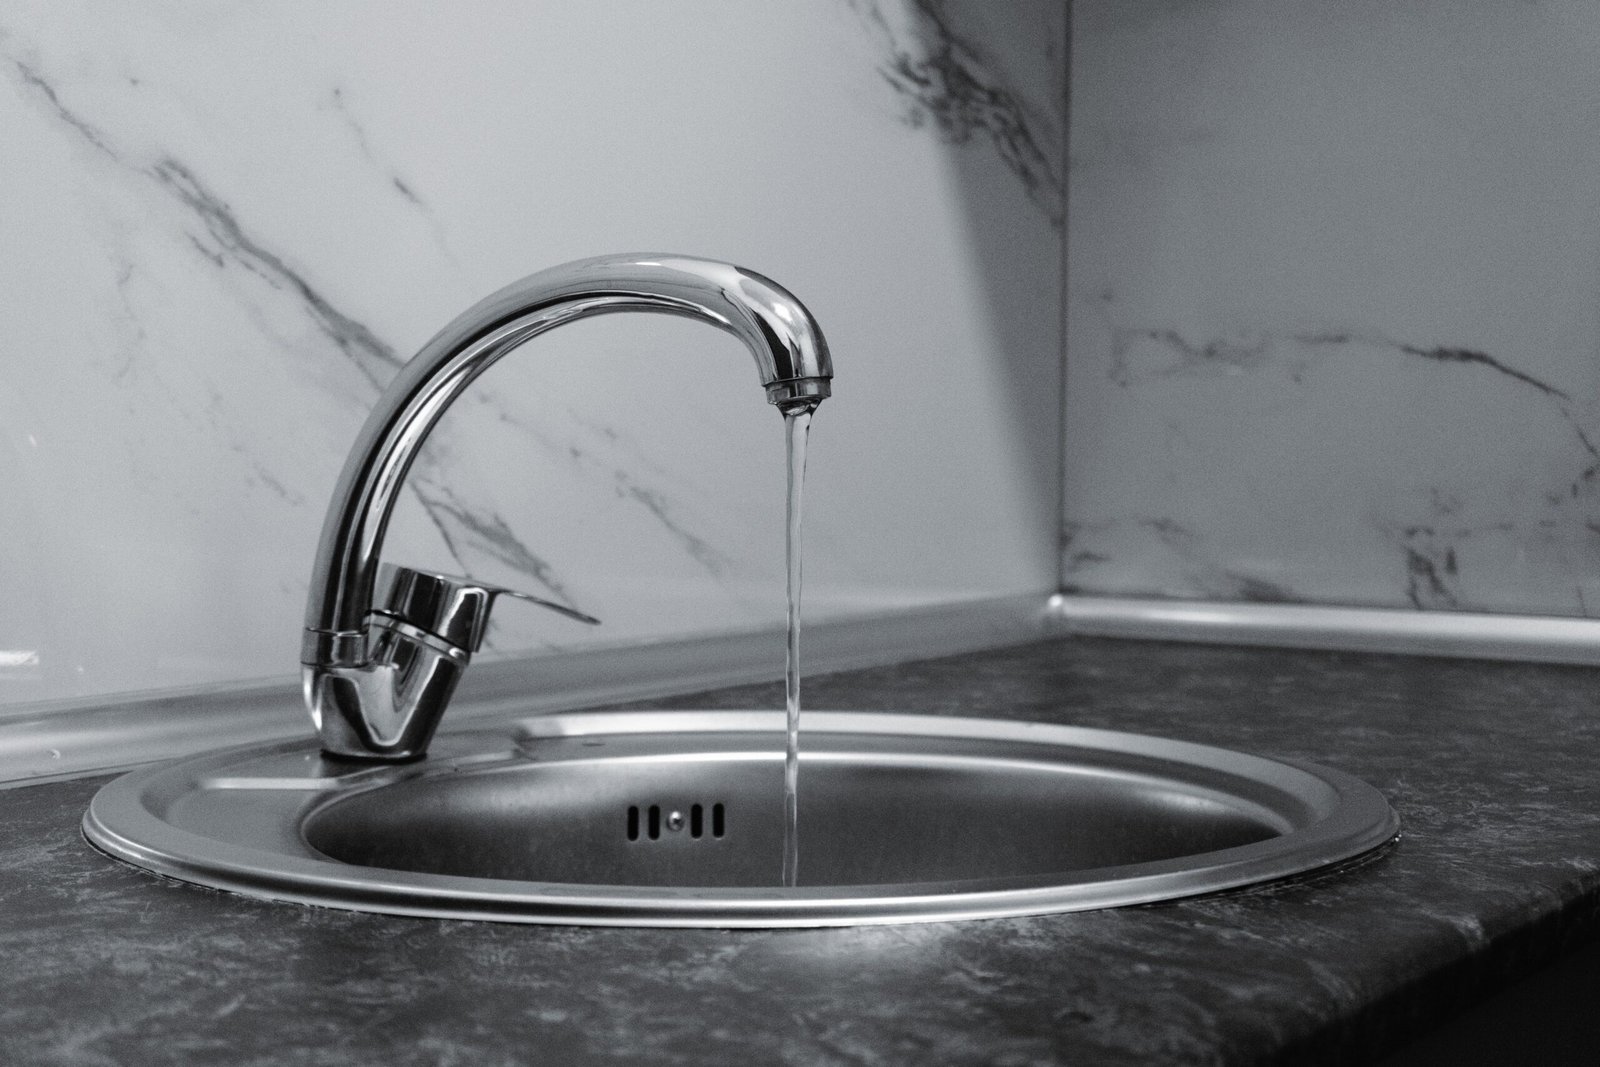
A faucet that drips overnight is easy to ignore, but the water adds up quickly. The EPA’s WaterSense program says a faucet dripping once per second can waste more than 3,000 gallons a year, about 180 showers’ worth. Most drips come from a small rubber or ceramic part that costs a few dollars. How to Fix a Leaky Faucet Swapping it is a job many homeowners can finish in an hour or so.
This guide shows you how to fix a leaky faucet whichever design you own: compression, cartridge, ball, or ceramic disc. How to Fix a Leaky Faucet You’ll learn how to find the source of the leak, what to buy, how to take the faucet apart without damage, and how to test your work. How to Fix a Leaky Faucet You’ll also learn when it makes sense to stop and call a plumber.
Repair at a Glance
- Time: 30 to 90 minutes for a first attempt
- Difficulty: Beginner to intermediate
- Typical parts cost: Often under $10 for washers and O-rings, and roughly $15 to $50 for brand-specific cartridges or kits (prices vary by region and brand)
- Skills needed: Using a wrench and screwdriver, and patience when disassembling small parts
Step One: Work Out Where the Water Is Coming From
Different leaks point to different parts, so watch the faucet for a minute before you reach for tools.
| Where the water appears | Most likely cause |
| Drips from the spout when the faucet is off | Worn washer, worn seals, damaged cartridge, or a roughened valve seat |
| Pools around the base of the spout | Worn O-rings on a swivel spout |
| Seeps out around the handle | Loose packing nut, or a worn O-ring or packing inside the stem |
| Dampness under the sink | Loose supply line connection or a failing shutoff valve |
Most of this guide deals with the first three rows. Wetness under the sink needs a different check, covered near the end.
Step Two: Identify Your Faucet Type
The repair depends on the design, so take a minute to identify yours.
- Compression faucets usually have two separate handles. You turn them several full rotations, and you often have to tighten them hard to stop the flow.
- Cartridge faucets come with one or two handles. They feel smooth and consistent. How to Fix a Leaky Faucet A single-handle version typically lifts for flow and swings side to side for temperature.
- Ball faucets have one handle sitting on a rounded cap, most often on kitchen sinks. The handle feels slightly gritty or “loose” as it moves.
- Ceramic disc faucets have a single lever on a wide cylindrical body, though some two-handle quarter-turn models also use discs. They feel very smooth and precise.
If you can’t tell, remove the handle and look inside. You can also search the brand and model number (often on a tag or stamped on the body) for the manufacturer’s parts diagram.
Tools and Materials
Every item below is used somewhere in this guide.
- Adjustable wrench
- Slotted and Phillips screwdrivers
- Hex (Allen) key set, for set screws on many handles
- Needle-nose pliers, for retaining clips and small seals
- Small pick or a thin utility knife, for lifting stubborn O-rings
- Valve seat wrench (compression faucets only)
- Replacement parts matched to your faucet: seat washers, O-rings, a cartridge, a ball-faucet kit, or ceramic disc seals
- Silicone-based plumber’s grease
- Penetrating oil, for stuck screws and handles
- Masking tape or a cloth, to protect the finish from wrench jaws
- Small bowl or egg carton, to keep parts organized
- Towel or sink stopper, to block the drain
- Flashlight
- White vinegar and an old toothbrush, to remove mineral buildup

Step Three: Prepare the Faucet
Preparation prevents most of the mistakes that turn a 30-minute job into a long afternoon.
- Shut off the water. Look under the sink for two small valves, one for hot and one for cold. Turn each clockwise until it stops. If there are none, or they won’t turn, close your home’s main shutoff.
- Relieve the pressure. Open the faucet fully to drain the remaining water. Leave it open while you work.
- Block the drain. Place a stopper or folded towel in the sink opening so a dropped screw doesn’t disappear.
- Protect the finish. Wrap masking tape or a cloth around the wrench jaws before gripping any chrome or brass.
- Document as you go. Take photos at each stage, and lay parts out in the order they come off.
- Bring the old parts to the store. Rubber and brass parts come in many near-identical sizes, so matching against the original is the only reliable way to buy.
Fixing a Compression Faucet
This is the oldest design. A rubber seat washer on the bottom of the stem presses against a brass valve seat to stop the flow. When the washer hardens or wears, water creeps past it.
- Remove the handle. Pry off the decorative cap with a thin screwdriver, then unscrew the handle screw. Wiggle the handle off. If it sticks, apply a little penetrating oil and wait a few minutes.
- Loosen the packing nut. This is the large nut at the base of the stem. Use a taped wrench.
- Lift out the stem. Unscrew it in the direction you’d turn the handle to open the faucet.
- Replace the seat washer. It sits at the bottom of the stem, held by a small brass screw. How to Fix a Leaky Faucet Remove the screw, pull off the old washer, and fit a new one of the same size and shape (flat or beveled). If the screw is corroded, replace it too.
- Replace the stem O-ring. Slide the old one off, fit the new one, and coat it lightly with silicone grease.
- Inspect the valve seat. Shine a flashlight into the body and run a fingertip around the seat. It should feel smooth. If it’s rough or pitted, jump to the valve seat section below.
- Reassemble. Thread the stem back in, tighten the packing nut until snug but not forceful, and refit the handle.
- Test. Follow the testing steps later in this guide.
Fixing a Cartridge Faucet
Here a replaceable cartridge controls flow and, in single-handle models, temperature. How to Fix a Leaky Faucet Leaks usually come from worn O-rings or a cracked cartridge body.
- Remove the handle. Take off the cap, unscrew the handle screw, and lift the handle away.
- Remove any collar or cap covering the cartridge.
- Release the retaining clip or nut. Needle-nose pliers will lift a clip. A nut needs a wrench.
- Note the orientation. Photograph the cartridge, or mark its position with a pencil. How to Fix a Leaky Faucet Many cartridges have a tab or notch that must line up on reinstall.
- Pull the cartridge straight up. If it resists, rock it gently side to side. Some brands need a special puller tool.
- Inspect it. If only the O-rings are worn, swap those. If the plastic is cracked or scored, replace the whole cartridge with an exact match.
- Clean and grease. Wipe the inside of the valve body, grease the new O-rings, and push the new cartridge fully down in the same orientation.
- Replace the clip or nut and reassemble.
One caution: some cartridges can be installed rotated 180 degrees, which swaps hot and cold. If your temperatures end up reversed, take the cartridge out and turn it a half turn.
Fixing a Ball Faucet
Ball faucets contain more small parts, so repair kits are common. A kit usually includes seats, springs, a cam and washer, and O-rings.
- Remove the handle by loosening its set screw with a hex key.
- Unscrew the cap and collar. Use a taped wrench or pliers.
- Lift out the cam assembly, then the ball itself.
- Pull the old seats and springs from the two openings in the body with needle-nose pliers.
- Check the ball. Replace it if it’s scratched or corroded.
- Replace the spout O-rings while you have it apart, if your kit includes them.
- Reassemble in order. Fit the seats and springs, set the ball so its slot lines up with the pin inside the body, add the cam with its tab in the notch, then tighten the cap until the handle moves smoothly without leaking.
Fixing a Ceramic Disc Faucet
These are the most durable design. Drips typically come from worn rubber seals on the bottom of the cylinder, or from mineral deposits.
- Remove the handle and the cap or escutcheon covering the cylinder.
- Unscrew the cylinder with a wrench and lift it out.
- Flip it over and look at the small rubber seals on the underside. Replace them if they’re flattened or cracked.
- Scrub away mineral deposits from the openings using an old toothbrush and white vinegar.
- Check the discs. If the ceramic is chipped or cracked, replace the entire cylinder.
- Reinstall the cylinder snugly and reassemble.
- Open the faucet before slowly restoring the water, so pressure doesn’t hit the discs all at once.
When the Valve Seat Is the Problem
If a compression faucet keeps dripping after a fresh washer, How to Fix a Leaky Faucet the brass valve seat is probably worn or roughened, so the washer can’t seal against it.
- Removable seats: Insert a valve seat wrench into the seat, turn it counterclockwise to remove it, and replace it with an identical seat.
- Non-removable seats: Use a seat-dressing tool to smooth the surface.
- Badly corroded bodies: If neither works, the faucet itself may need replacing.
Fixing Leaks at the Base of the Spout and Around the Handle
Base of the spout: Swivel spouts rely on two rubber O-rings. How to Fix a Leaky Faucet Loosen the retaining nut or set screw, lift the spout straight up, slide off the old rings, and fit new ones coated with plumber’s grease. How to Fix a Leaky Faucet Pull the old O-ring out carefully so you don’t scratch the body.
Around the handle: Tighten the packing nut by a quarter turn. How to Fix a Leaky Faucet If it still seeps, replace the stem O-ring or packing washer as described in the compression section.
Test Your Repair
- Make sure the faucet handle is open.
- Slowly turn the shutoff valves counterclockwise. This lets air escape and avoids sudden pressure.
- Let water run for 30 seconds to flush out debris.
- Close the faucet and watch the spout.
- Check around the handle, the base, and under the sink.
- Place dry paper towel beneath the connections. Dampness shows up fast.
- Recheck after 15 minutes, then again the next morning.
If It Still Drips
- Wrong washer or O-ring: A part that’s slightly off in size or shape won’t seal.
- Worn seat: Revisit the valve seat section.
- Cartridge not fully seated: Remove it, realign it, and push it down firmly.
- Debris: A grain of sediment can hold a seal open, so flush the line.
- Drips only with hot water: Focus on the hot side, since heat wears rubber faster.
- Handle feels stiff: The packing nut may be too tight, or the O-rings may need grease.
- Sputtering or weak flow: This usually points to a clogged aerator. Unscrew it, rinse it, and soak it in white vinegar. An aerator affects flow, though, not drips.
A Note on Lubricants
Use silicone-based plumber’s grease on O-rings and threads. How to Fix a Leaky Faucet Petroleum-based products can swell or break down some rubber. For kitchen faucets, choose a grease rated for potable water.
Repair or Replace?
Repair makes sense when the body is sound and parts are available. Consider replacing the faucet when:
- The body is corroded or cracked.
- The finish has worn through.
- You’ve repaired it more than once in a short span.
- Replacement parts are hard to find.
- You want a more efficient model. The EPA’s WaterSense label marks faucets that use less water than standard models.

When to Call a Plumber
Some situations go beyond a DIY fix:
- A shutoff valve won’t close, or drips while closed.
- The faucet still leaks after new parts and a seat repair.
- The body or supply lines are corroded.
- The valve is hidden inside a wall (common with tubs and showers) and needs access.
- You see staining or softness in the cabinet, suggesting a hidden leak.
- You aren’t sure how to isolate the water safely.
Mistakes to Avoid
- Skipping the water shutoff
- Gripping chrome with bare wrench jaws
- Losing track of part order
- Overtightening nuts, which cracks fittings
- Forcing a stuck handle instead of using penetrating oil
- Reusing a washer or O-ring that’s visibly damaged
- Using a mismatched part “because it’s close”
Frequently Asked Questions
Does a dripping faucet raise my water bill?
Yes. Per the EPA, a single drip per second can waste over 3,000 gallons a year.
Why does only the hot side drip?
The hot-side washer or cartridge seal has probably worn, and heat speeds that up.
Do I need to shut off the main?
Only if your fixture has no individual shutoff valves or they won’t close.
How long does the repair take?
Most first-timers need 45 to 90 minutes.
Can I use any washer that fits?
No. Use an exact match for size, shape, and material.
Final Thoughts: How to Fix a Leaky Faucet
Learning how to fix a leaky faucet comes down to three habits: identify the type, match every part exactly, and test patiently. How to Fix a Leaky Faucet Most repairs need only a few basic tools and an inexpensive part. How to Fix a Leaky Faucet Work slowly, photograph each step, and don’t hesitate to stop and call a plumber if something doesn’t feel right.